Midnight Play 2
Dive into a world of mystery and allure with our latest photoshoot, where candlelight dances over intricate lace and shadows play upon rich textures.
Episode Price
Get instant access to high-resolution images and videos from this episode.
Featured Models

Media Gallery
30 Images
Purchase Required
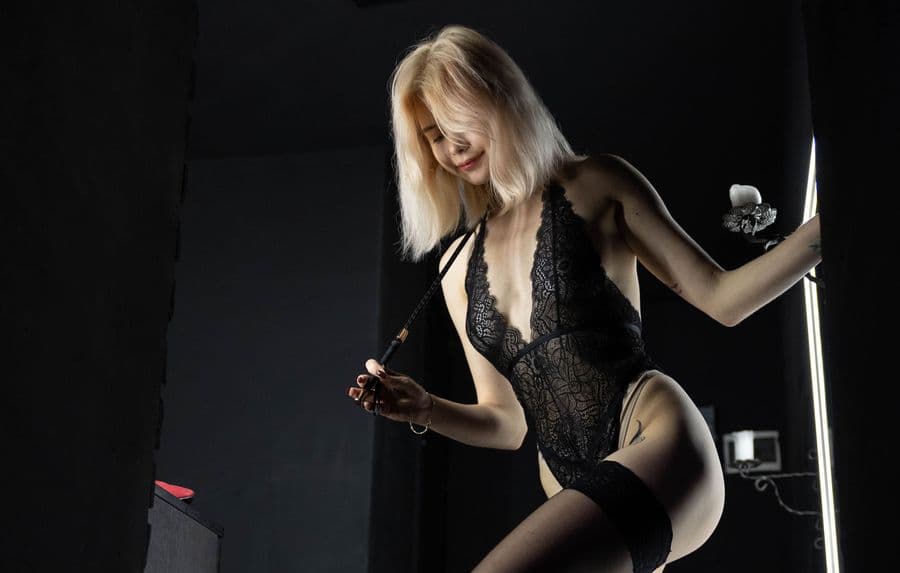
Midnight Play 2 - Image 1

Purchase Required
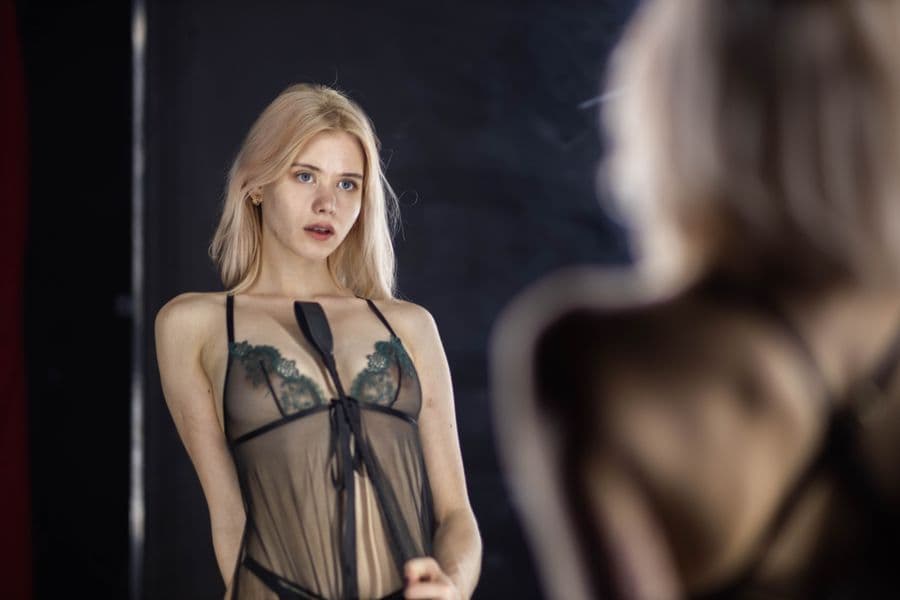
Midnight Play 2 - Image 2

Purchase Required
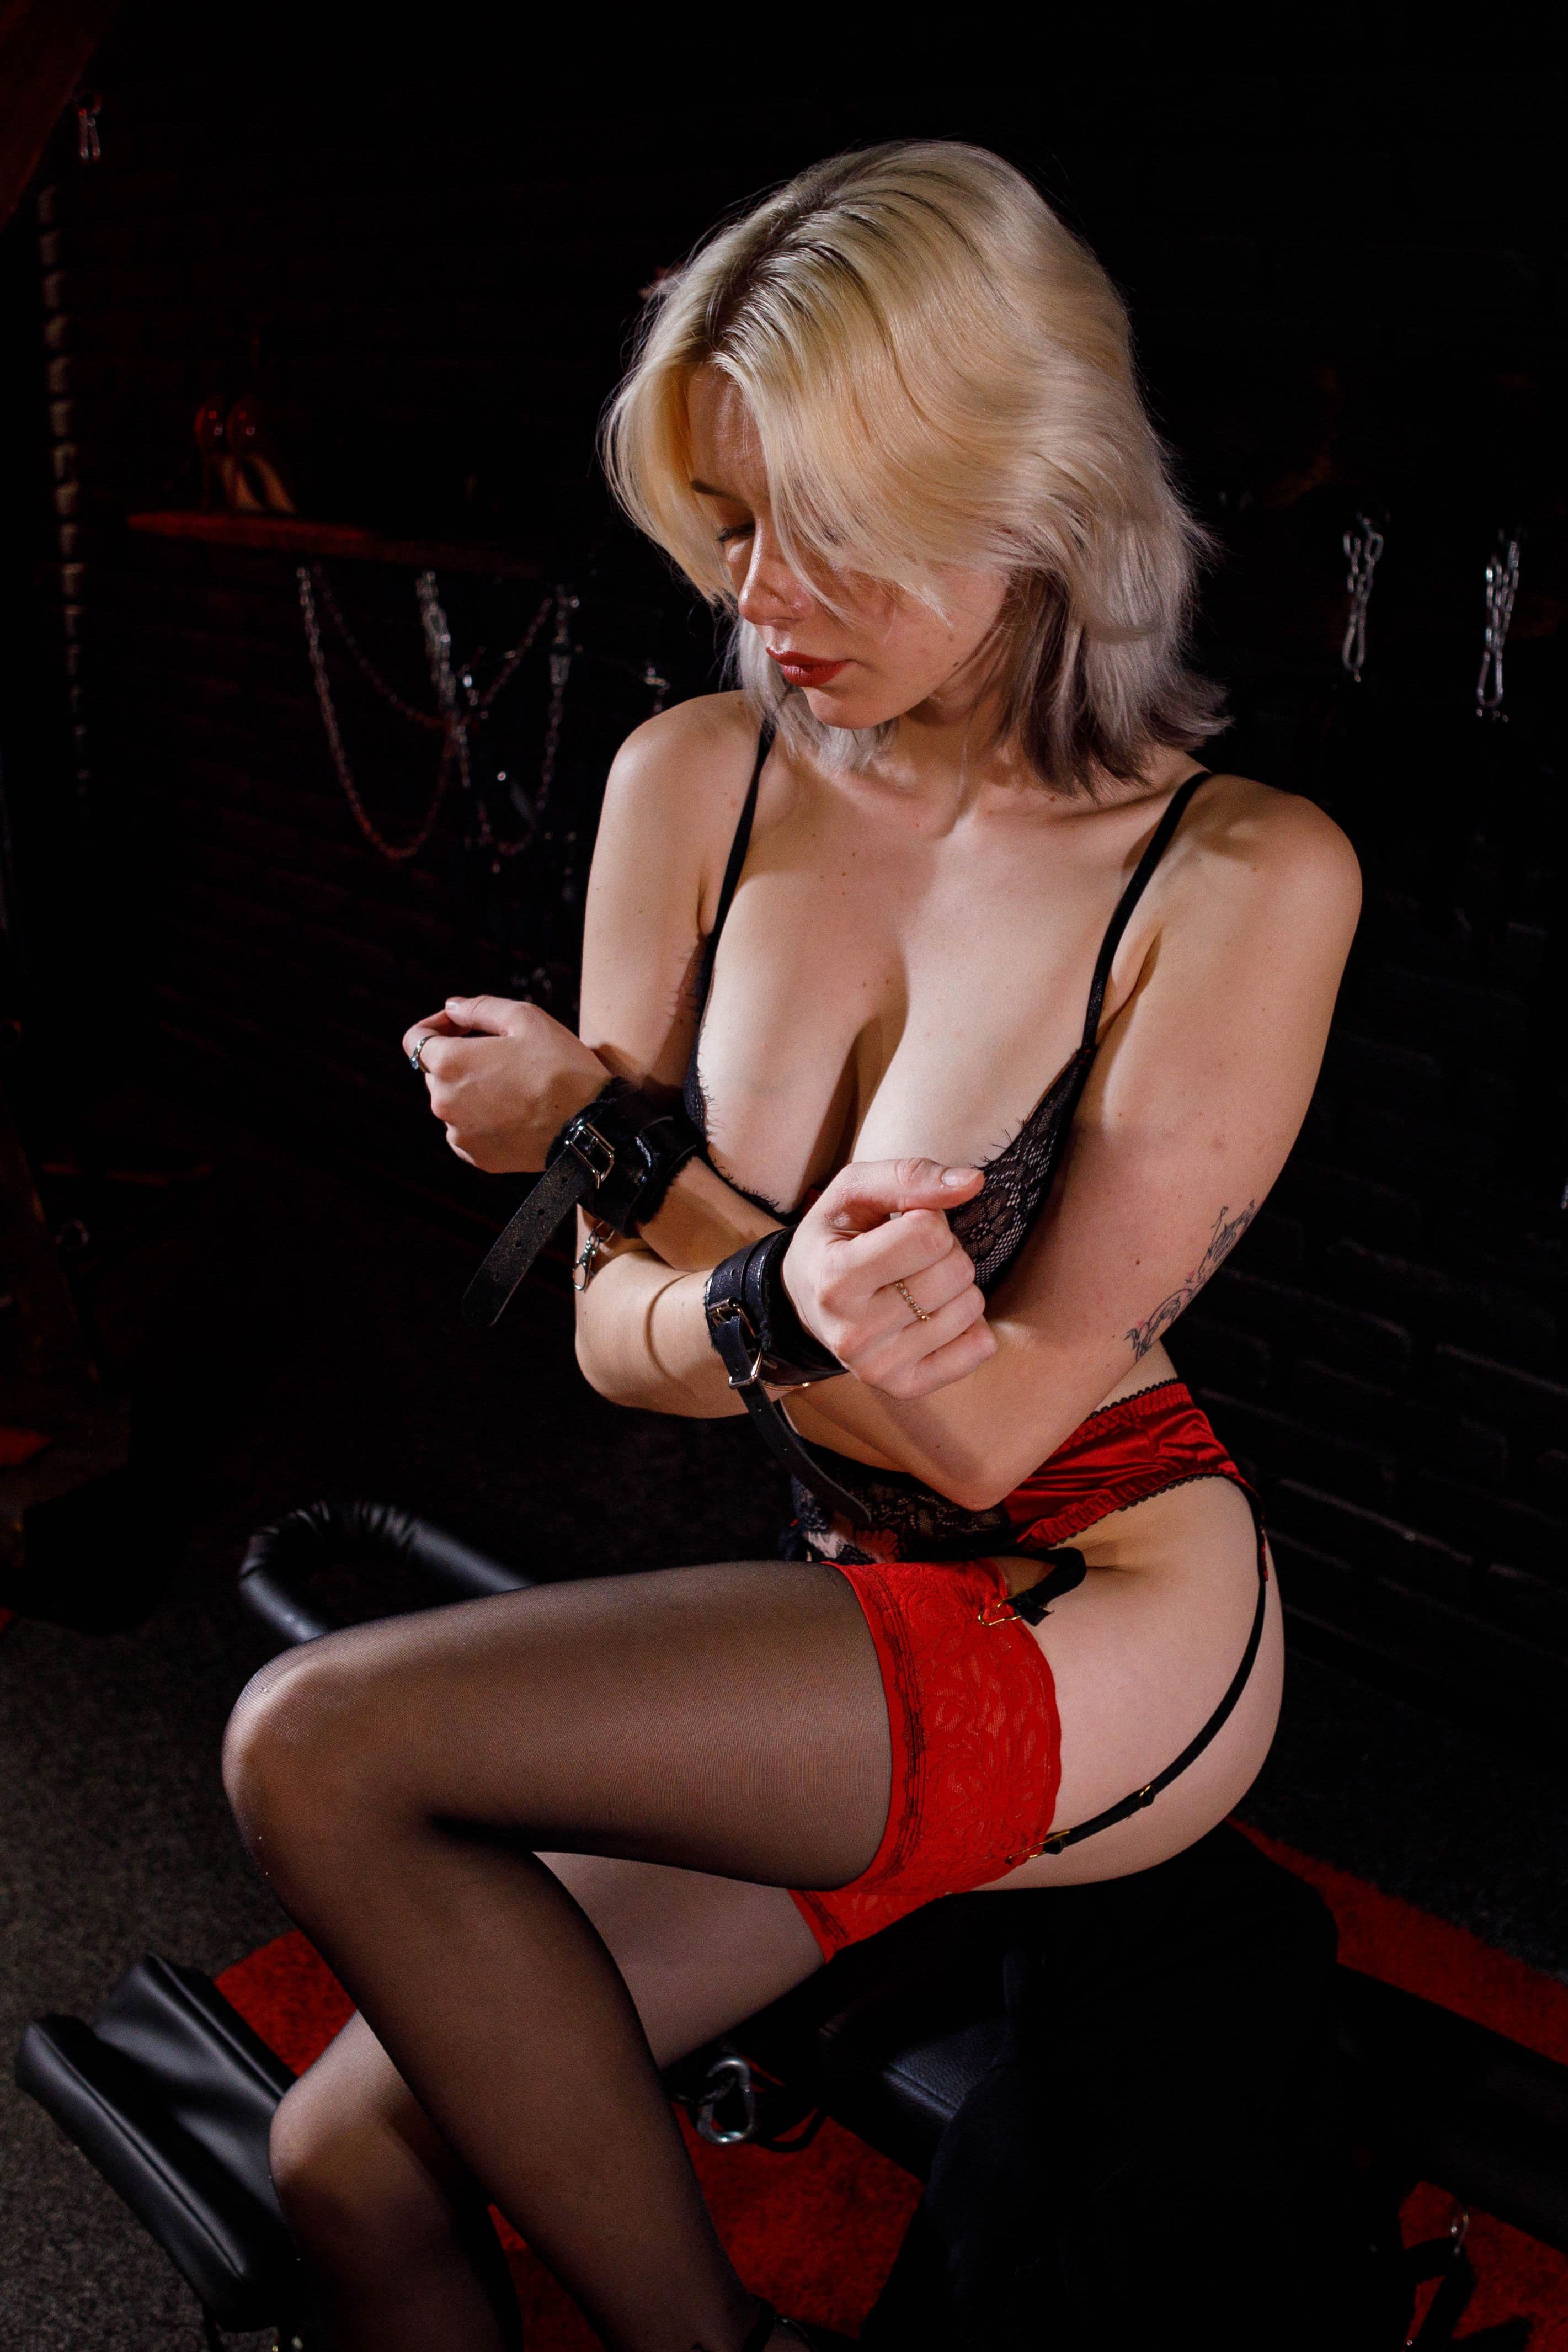
Midnight Play 2 - Image 3

Purchase Required
Midnight Play 2 - Image 4

Purchase Required
Midnight Play 2 - Image 5

Purchase Required
Midnight Play 2 - Image 6

Purchase Required
Midnight Play 2 - Image 7

Purchase Required
Midnight Play 2 - Image 8

Purchase Required
Midnight Play 2 - Image 9

Purchase Required
Midnight Play 2 - Image 10

Purchase Required
Midnight Play 2 - Image 11

Purchase Required
Midnight Play 2 - Image 12

Purchase Required
Midnight Play 2 - Image 13

Purchase Required
Midnight Play 2 - Image 14

Purchase Required
Midnight Play 2 - Image 15

Purchase Required
Midnight Play 2 - Image 16

Purchase Required
Midnight Play 2 - Image 17

Purchase Required
Midnight Play 2 - Image 18

Purchase Required
Midnight Play 2 - Image 19

Purchase Required
Midnight Play 2 - Image 20

Purchase Required
Midnight Play 2 - Image 21

Purchase Required
Midnight Play 2 - Image 22

Purchase Required
Midnight Play 2 - Image 23

Purchase Required
Midnight Play 2 - Image 24

Purchase Required
Midnight Play 2 - Image 25

Purchase Required
Midnight Play 2 - Image 26

Purchase Required
Midnight Play 2 - Image 27

Purchase Required
Midnight Play 2 - Image 28

Purchase Required
Midnight Play 2 - Image 29

Purchase Required
Midnight Play 2 - Image 30
Premium Content
Purchase this episode for $2.99 or subscribe to view high-resolution images and videos.